Category Archives: crafting

Moss Terrarium

Moss Terrarium

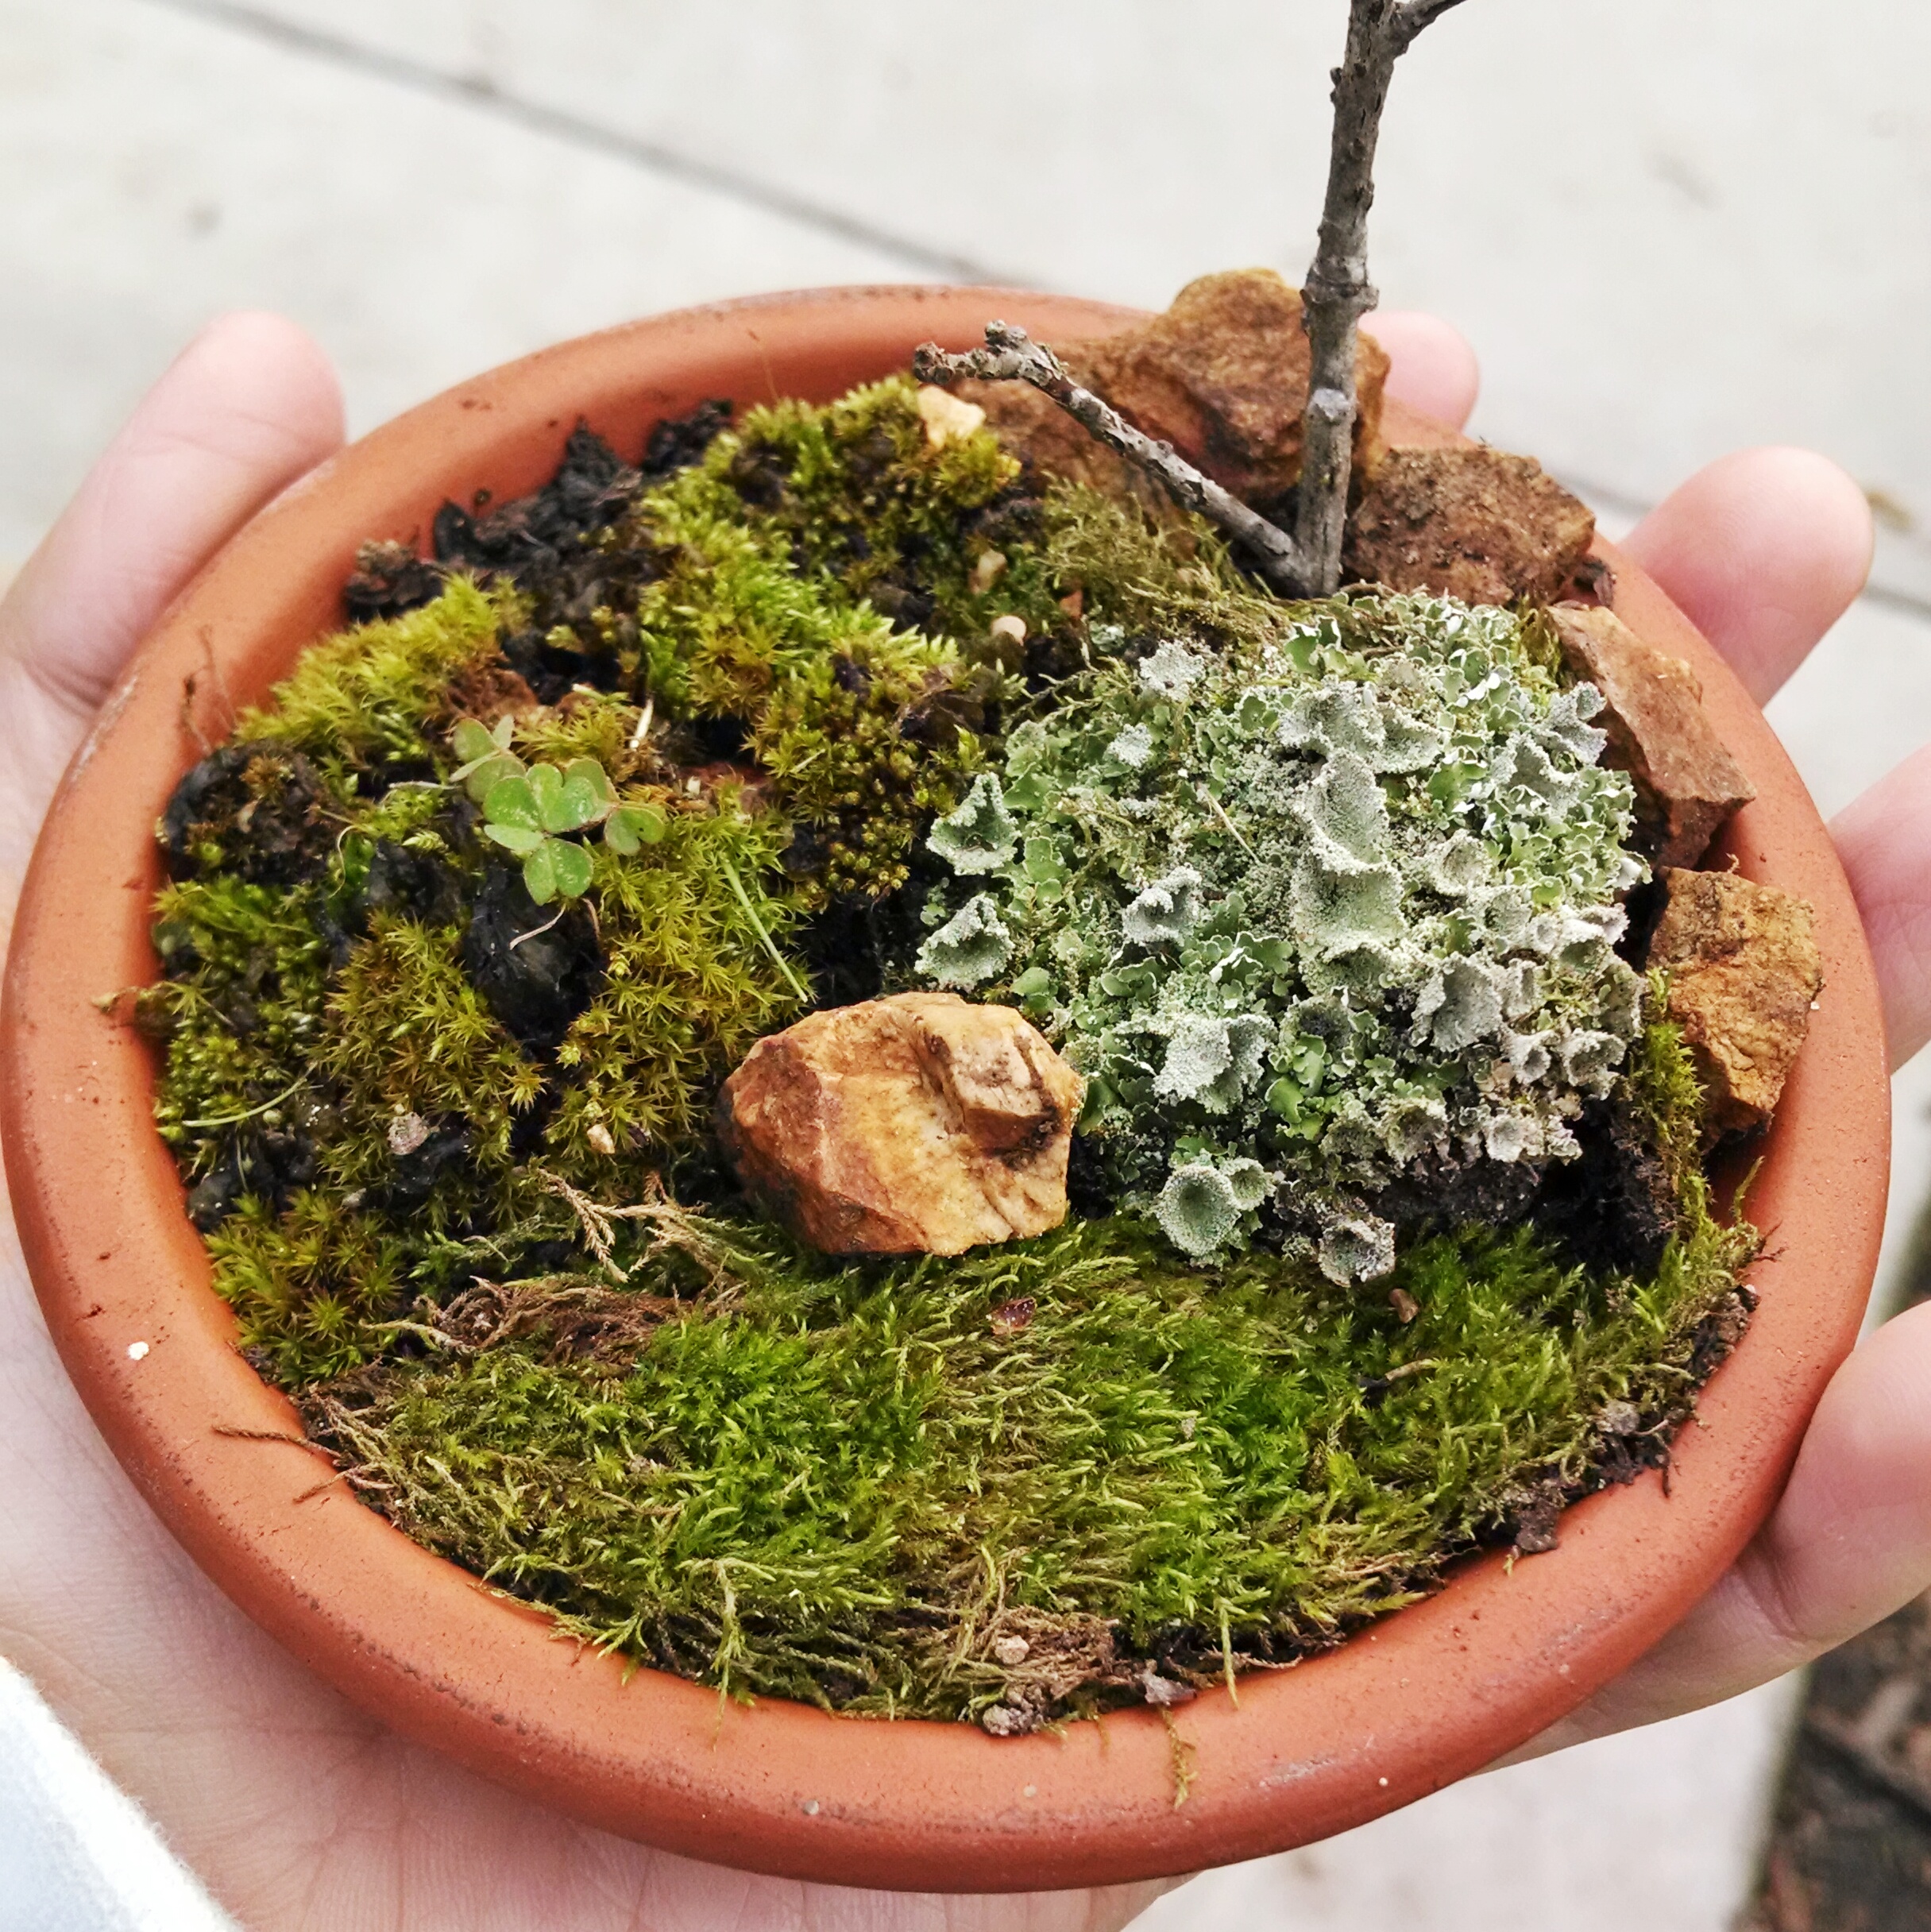
I’m not sure this counts as DIY… But here’s my first attempt at making a moss terrarium/dish. Terra cotta saucer, thin layer of dirt, then some moss pulled from the yard.

Moss care: (according to Google, ymmv)
– Don’t overwater
– Water via misting, moss doesn’t need damp soil
– Water in the morning, moss can only photosynthesize with water and sun
– 5-8 hours/day of indirect sunlight

Is there a term for terrariums made of found things? Foraged terrarium?

Cotton Drop Stitch Cowl

Cowl Selfie

This weekend (in about three hours) I made my mom a Drop Stitch Cowl using 2.5 skeins of Ecobutterfly’s Chunky Cotton yarn.

Flat Cowl

She thinks she’s allergic to wool, so no wool for her! The cotton turned out quite pretty — it’s chunky, but not too fuzzy. It’s also super soft and not itchy at all like animal fibers tend to be.

Now I’ve got some of the yarn left, and I’m trying to figure out what to make with it. Wonder if I can use it for thrums?

Knitting!

A hat!

In the last few days I’ve made two hats following this pattern. Now my head is all warm and cozy.

wpid-IMG_20140102_101255291.jpg

Also in the works is a scarf for dad. I’ve made up a diagonal knit-purl stripes pattern, and it’s coming along pretty stripy-ly. It’s also reminded me of why I like bulkier yarn…

Crochet Antlers

image

Chain 9, join into loop.
Double crochet off that in two rows (so now you’ve got a little stub…)

First Branch:
Chain 6, join to the loop three from where you started
Double crochet off that loop, outward, two rows
Close that off, then use a needle to pull it tight — yay one branch is done!

Tie the yarn back to the base and add two rows to the trunk
As you grow the trunk, all the dcs next to the branch, just loop through the trunk so they connect
It should take only the two rows to be as tall as the branch
Next row goes all the way around, 8 dcs

Second Branch:
Chain 6, join to the loop three away. Line it up with the first branch
Double crochet from that loop, outward, three rows
Close that off, pull it tight.

Tie the yarn back to the base, add two rows, same as earlier
Three more rows of dc, then close it off

Inside out them, to hide the knots. Stuff with stuffing.

Zergling!

Zergling progress...

USPS tracking says that the zergling arrived earlier this morning. I haven’t heard from Husky yet… but hopefully he’ll rescue Mr. Zergling soon. I’ve got a couple more pictures to post of Mr. Zergling hanging out with Mr. Overlord, but they’re on my Olympus and RAWs (and I’m lazy).

Dinosaur Cookies

DSC_5207.jpg

Over the last two nights Danielle and I have made some pretty awesome (at least to look at) cookies. Dinosaurs-who-eat-children cookies! It’s actually three dinosaur shaped sugar cookies glued together with icing. The center one has a hole cut in it to hold the contents of the dinosaur’s stomach. In this case, upon CH’s suggestion, sour patch kids — since everyone knows dinosaurs eat children! Roar!

Adapted from this guide.

DSC_5131.jpg
Make some colored blobs of dough.

DSC_5134.jpg
Carefully make a block of dough in stripes. Freeze it overnight.

DSC_5170.jpg
Slice it into sheets. Then bake it.

DSC_5185.jpg
Quickly, before the cookies cool and they get hard to cut, use a dinosaur cookie cutter on them. Also, a circle to cut out their stomachs. Carefully assemble them with royal icing. Two whole dino cookies + one with a cut out stomach in the middle

DSC_5189.jpg
Fill their bellies with sourpatch kids.

DSC_5194.jpg
Let them sit for 30 minutes to dry before standing them up. It might be helpful to flatten them gently since the dinosaurs probably aren’t perfectly flat but be careful not to break them.

Making Banelings! (And Zerglings)

DSC_4708.jpg
Last week I helped a friend make a plush baneling, which he took to MLG. That’s him up there, trying to learn to use a sewing machine. (I spose I should tell him I’m putting his picture on the internet…)

DSC_4718.jpg
There’s the almost-finished baneling, his butt and legs still need to be attached.

Also, I did some work on my zergling — I sewed together the body and made a lot of small edits to my pattern. This zergling has less of a neck than the last one and is a little thinner (Marines are getting scarce?) It also turns out that legless zergling stumps are the perfect size for cuddling!

DSC_4701.jpg
Above is the first step of making a zergling — cut out all the pieces! There are two pieces each for each of the four legs (There will be an additional two pieces per leg by the time I’m done, to account for the claw-bits of his legs) then one top piece (green, folded in half) and two bottom pieces (brown, stacked in that picture).

Bawwwston

DSC_4631.jpg

I went to Boston last weekend to visit my little brother. There’s a view from the plane, complete with dust-induced flares and artifacts. I swear that’s not Photoshop.

DSC_4647.jpg

We did the things we usually do… Eat too much (as evidenced by the menu… and his blurry hand that’s scribbling out our oyster order), bicker, play games. But! We also saw the Final Fantasy Distant Worlds orchestra. Of which, I have no pictures.

But most importantly… I ‘ling dropped his apartment. See Mr. Zerguhling (as named by my ultra-creative brother) below. He took me probably about 4-5 hours end to end to sew and I’ll be posting a not-very-detailed tutorial sometime soon. I’m in the process of making another one and I’m trying to document it.

DSC_4672.jpg